
March Is Blazor Spreadsheet Madness

Summarize with AI:
Use the Telerik UI for Blazor Spreadsheet to create your own custom bracket, just in time for March Madness.
In March, many of us struggle with the joy and frustration of maintaining a March Madness bracket. For those that don’t follow the sportsball, March Madness is a thrilling college basketball single elimination tournament that happens in the U.S. every March.
With 68 teams, 67 games and only one overall winner, there is a lot of data to track! The question remains: Where should we store this unique tabular data so that it is easy to update and in a way that is also visually pleasing?
It just so happens that we have a wonderful new embedded Blazor Spreadsheet component in our Progress Telerik UI for Blazor library. Here at Progress, we never miss an opportunity to drink our own champagne! Follow along with me while I build a .NET 9 Blazor web app, enriched with the Telerik UI for Blazor library, that saves data to SQL database. We’ll also build a custom toolbar and a custom tool just for good measure.
When it comes to the actual design of the bracket layout, we need not waste our time. This process is more art than science and requires a deep understanding of how the March Madness draws work, not to mention the elimination procedure. Remember, 68 is not a factor of 2, so how a single-elimination tournament works was the initial puzzle I had to solve. Eventually, I decided there was no need to recreate the wheel since many wonderful spreadsheet-based brackets already exist. Thanks to our friends at PLEXKITS, we are able to reuse an existing document in a fun new way.
What Is a Spreadsheet?
Before we jump headfirst into creating a spreadsheet, let’s take a moment to discuss what a spreadsheet is. Many of us use grids daily, such as the UI for Blazor Grid. While both a grid and a spreadsheet can display data, they take a different approach.
A grid is fundamentally row-based with a defined column schema. A grid closely maps to a database schema and is often used as the frontend UI visualization of a database table.
A spreadsheet, on the other hand, is cell-based and does not have a predefined schema. The most familiar spreadsheet for most people is Microsoft Excel. Spreadsheets can be used to display any type of tabular data, in an unlimited range of rows and columns. This makes the spreadsheet extremely versatile for non-regular data—and basketball brackets.
Getting Started
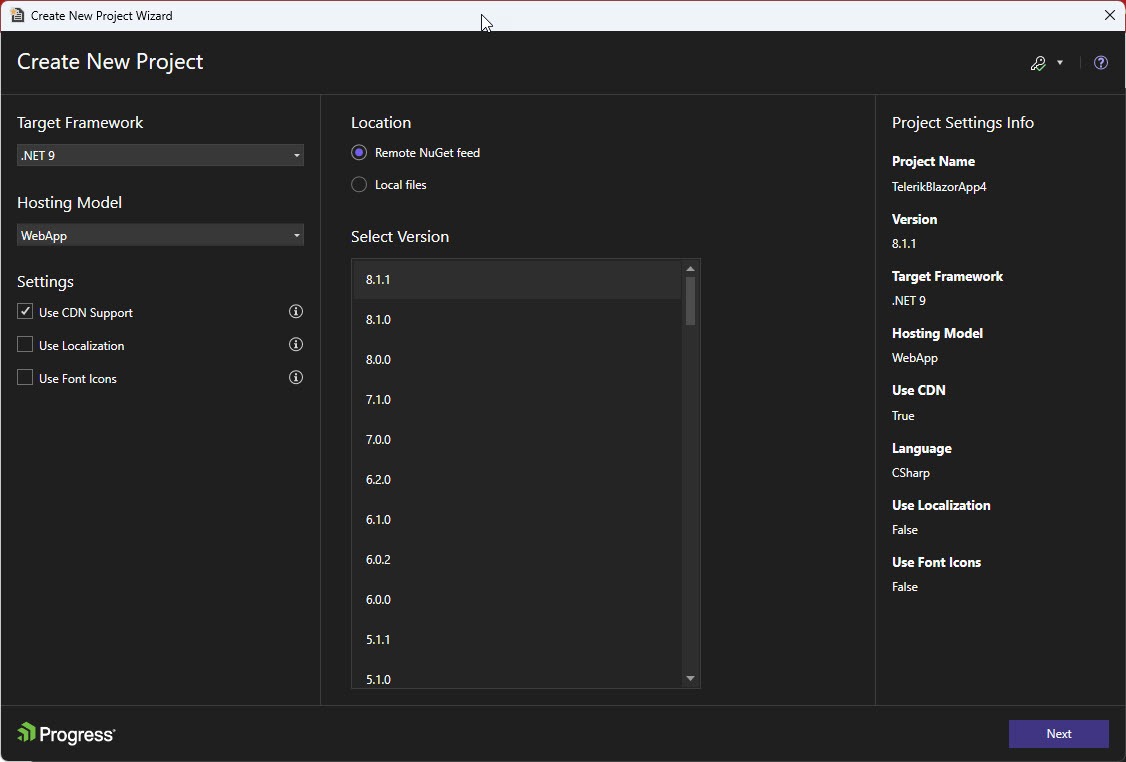
Since we’re using the UI for Blazor library, we’ll bootstrap our project by using the Create New Telerik Project wizard to create a .NET 9 Blazor web application. The wizard creates a project with all necessary packages included and adds a few Telerik UI components for demonstration. It is a variant of the standard ASP.NET Blazor example web app.
Create a Razor Page
Now that we have a functional web application, we can start adding our code. I chose to create a new Razor Page for my code, but you can place all of the code on the homepage if you wish. The great thing about an embeddable component is that it can be embedded anywhere you need it.
Now let’s see the necessary code to add a Spreadsheet. Read it carefully to not miss any details.
@using Telerik.Blazor.Components.Spreadsheet

<TelerikSpreadsheet
/>
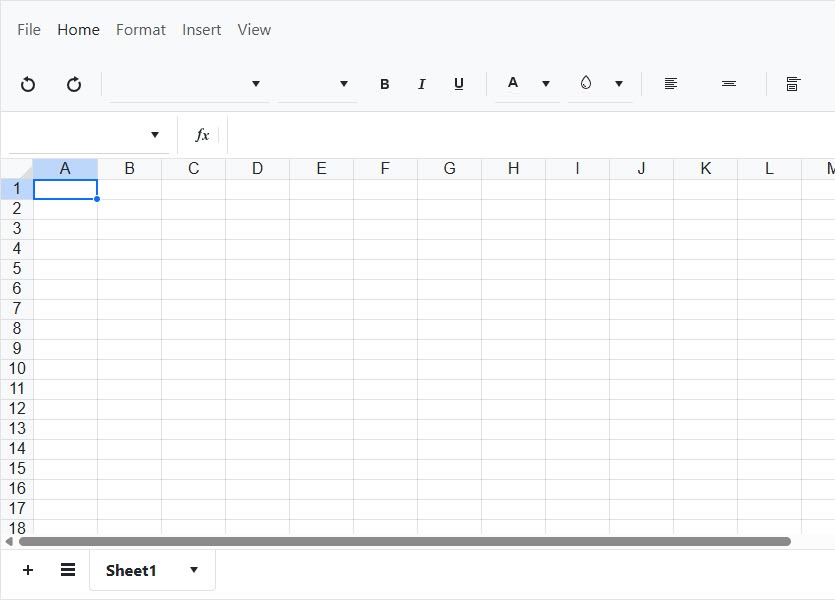
As you might have guessed, a basic Spreadsheet is simple to implement. In fact, the component in its default configuration is complete. You can create, open, edit and save documents directly in the page—but there is no persistence.
Excel Data
You can load data into the Spreadsheet simply by setting a single variable.
<TelerikSpreadsheet
Data="@FileData"
/>
You can set data in the FileData variable in a few ways. Generally, I prefer to work with binary data in a BLOB or varbinary [MAX] column, but you can also serialize the binary data or encode it to base64.
To make things simple, I uploaded my March Madness bracket Excel file and inserted it into a database table in a one-off process. In a production application, I would include an Upload component to formalize this procedure in a user reusable way, but for our example we can assume the data already exists magically in a database table.
To get the data into the Spreadsheet on page load is quite straightforward too. Simply connect to the database and SELECT the data. Once you have the data in memory, assign it to the FileData variable—the Spreadsheet will do the rest.
@code {

    private byte[]? FileData { get; set; }

    static string connectionString = @"your_connection_string";
    SqlConnection connection = new SqlConnection(connectionString);

    protected override async Task OnInitializedAsync()
    {
        var fileAsByteArray = LoadExcel();

        if (fileAsByteArray != null){

            FileData = fileAsByteArray;
        }

        await base.OnInitializedAsync();
    }

    protected byte[]? LoadExcel()
    {
        var select = new SqlCommand("SELECT excel FROM Excel WHERE id=@id", connection);
        select.Parameters.AddWithValue("id", 2);
        select.Connection.Open();
        byte[]? data = select.ExecuteScalar() as byte[];
        select.Connection.Close();

        return data;
    }
}
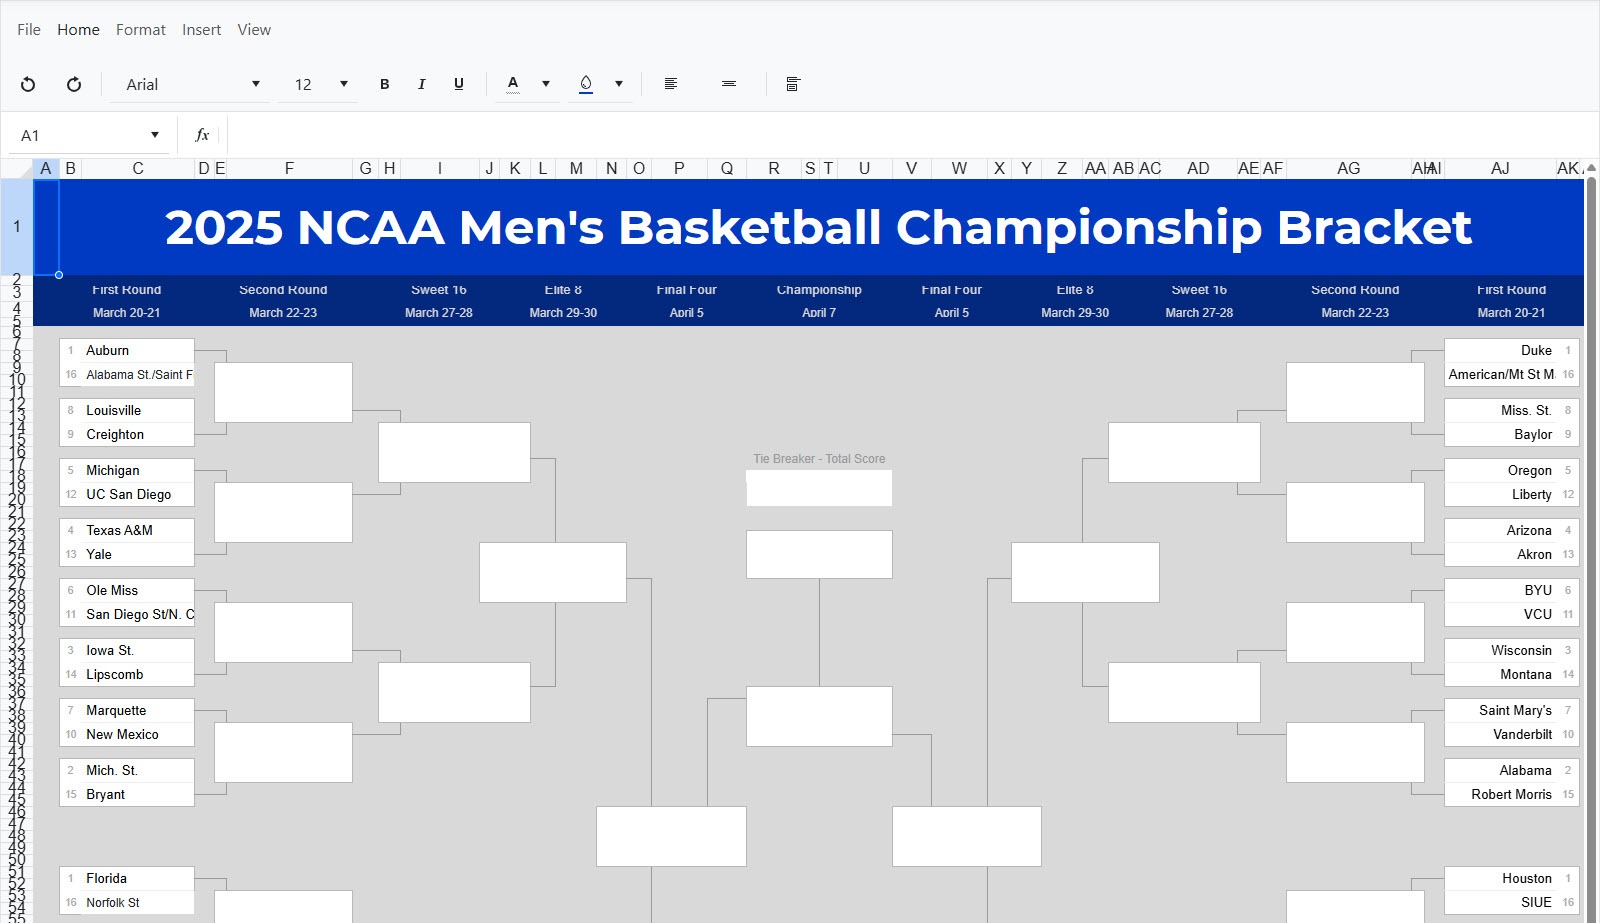
We now have a fully populated and arranged March Madness bracket loaded into the Spreadsheet component. However, the bracket is only populated with the results on Selection Sunday. Half of the fun is watching the games and entering the winners! To keep track of our changes, we need to save edits back to the database, which will require a custom toolbar tool.
Saving Data with a Custom Toolbar
If we were happy with just entering data and exporting the spreadsheet, we would be done now. Those features come baked into the Spreadsheet component. However, if we want to perform a custom action like saving changes to the database, we need a custom tool.
This next part is a bit more complex, but follow along and we’ll do it together. First we need to create a new custom SpreadsheetToolSet and load into it all the basic tools first. Then we will create a ToolSetItem and add it to the File menu. Finally, we’ll wire up the event to extract the data from the Spreadsheet as a byte array and update the database.
Note: For clarity I’m only showing the code necessary for this feature. Add this code to the existing code from previous steps.
<TelerikSpreadsheet
Data="@FileData"
Tools="@SpreadsheetToolsWithCustomTool"
/>

@code {

    private SpreadsheetToolSet SpreadsheetToolsWithCustomTool { get; set; } = SpreadsheetToolSets.All;

    static string connectionString = @"your_connection_string";
    SqlConnection connection = new SqlConnection(connectionString);

    protected override async Task OnInitializedAsync()
    {
        SpreadsheetToolSetItem fileToolSetItem = SpreadsheetToolsWithCustomTool.Items.First();

        fileToolSetItem.Tools.Add(new SpreadsheetCustomTool()
            {
                Template = CustomToolFragment
            });

        await base.OnInitializedAsync();
    }

    private RenderFragment CustomToolFragment =>
    @<TelerikButton Icon="@SvgIcon.Save"
                            ButtonType="@ButtonType.Button"
                            ThemeColor="@ThemeConstants.Button.ThemeColor.Warning"
                            Title="Save Bracket"
                            FillMode="@ThemeConstants.Button.FillMode.Flat"
                            OnClick="@SaveBracketButtonClick">
    </TelerikButton>;

    private async Task SaveBracketButtonClick()
    {
        if (SpreadsheetRef != null)
        {
            byte[] excelFileToSave = await SpreadsheetRef.ExportToExcelAsync();
            SaveExcel(excelFileToSave);
        }
    }

    protected void SaveExcel(byte[]? excelData)
    {
        var update = new SqlCommand("UPDATE Excel SET excel=@excel WHERE id=@id", connection);
        update.Parameters.AddWithValue("excel", excelData);
        update.Parameters.AddWithValue("id", 2);
        update.Connection.Open();
        update.ExecuteNonQuery();
        update.Connection.Close();
    }
}
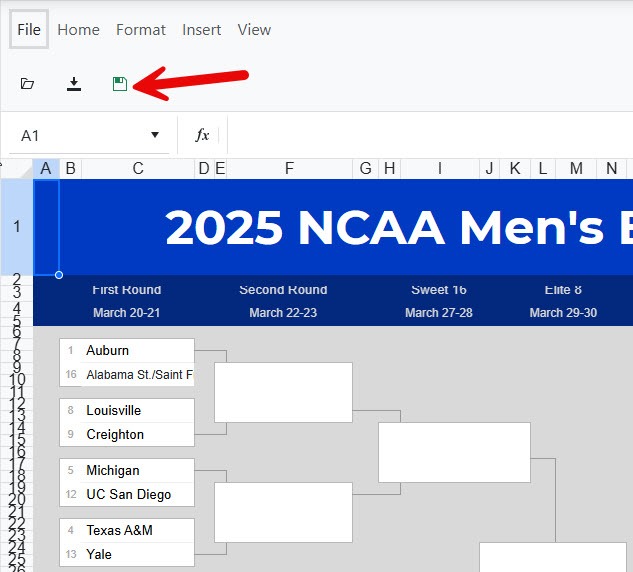
You now have a custom tool button that will save our data back to the database. Because of the earlier implementation, this saved data is automatically loaded each time the Spreadsheet is opened. We now have a season-long March Madness bracket that you can share with your friends and family.
Conclusion
We’ve had a little fun here today implementing a March Madness bracket using the Telerik UI for Blazor Spreadsheet. Hopefully your takeaway is that the Spreadsheet is a powerful and versatile tool that can be embedded anywhere in your web application with only a few lines of code. Using the Spreadsheet, Grid and other 120+ Native components Progress Telerik offers can help your application take the championship trophy, without going into overtime.
Time for the tip-off.
Try Telerik UI for Blazor
Want to experience this yourself? Telerik UI for Blazor comes with a free 30-day trial.
Attribution
Thank you to PLEXKITS for the use of the 2025 March Madness Bracket.
Copyright © 2025 PLEXKITS.

Rick Hellwege
Rick Hellwege is a software engineer, maker, and Principal Sales Engineer at Progress. Rick has a passion for experimenting with the latest technologies and frameworks, and constantly finding out how things work. When not writing code and driving demos, he can either be found on the most remote peaks of New England’s White Mountains, covered in sawdust in his workshop, or digging the earth in his garden.
Related Posts
Comments
All articles
Topics
Web MobileMobile
Desktop
Design
Productivity
People
